
Creating professional real estate videos is essential for marketing properties effectively in Australia. A well-produced video not only attracts more buyers but also builds credibility for real estate companies. By the end of this guide, you’ll know the exact steps to plan, shoot, and edit high-quality property videos that convert.
Why Professional Real Estate Videos Matter
Professional real estate videos can increase property inquiries by up to 403%. They help buyers understand the layout, visualize the space, and experience the lifestyle offered by a property. Unlike static images, videos create an emotional connection that can speed up decision-making.
Building Trust with Quality
A polished video shows attention to detail. Buyers associate high-quality visuals with transparency and professionalism, which builds trust in your brand.
Enhancing Online Engagement
Videos are more likely to be shared on social media. Listings with video content get up to 120% more engagement, improving visibility across platforms like Facebook, Instagram, and real estate websites.
Pre-Production: Planning Your Real Estate Video
Planning is critical to creating professional videos. Follow these steps before hitting record.
Define Your Goals
Decide what the video should achieve:
- Highlight property features
- Showcase lifestyle and neighborhood
- Drive inquiries and viewings
Knowing your goal helps guide the video style and structure.
Storyboard Your Shots
Create a shot list that includes:
- Exterior shots
- Interior walkthroughs
- Key features (kitchen, bathrooms, living areas)
- Neighborhood and community amenities
A storyboard ensures you capture every essential aspect efficiently.
Prepare the Property
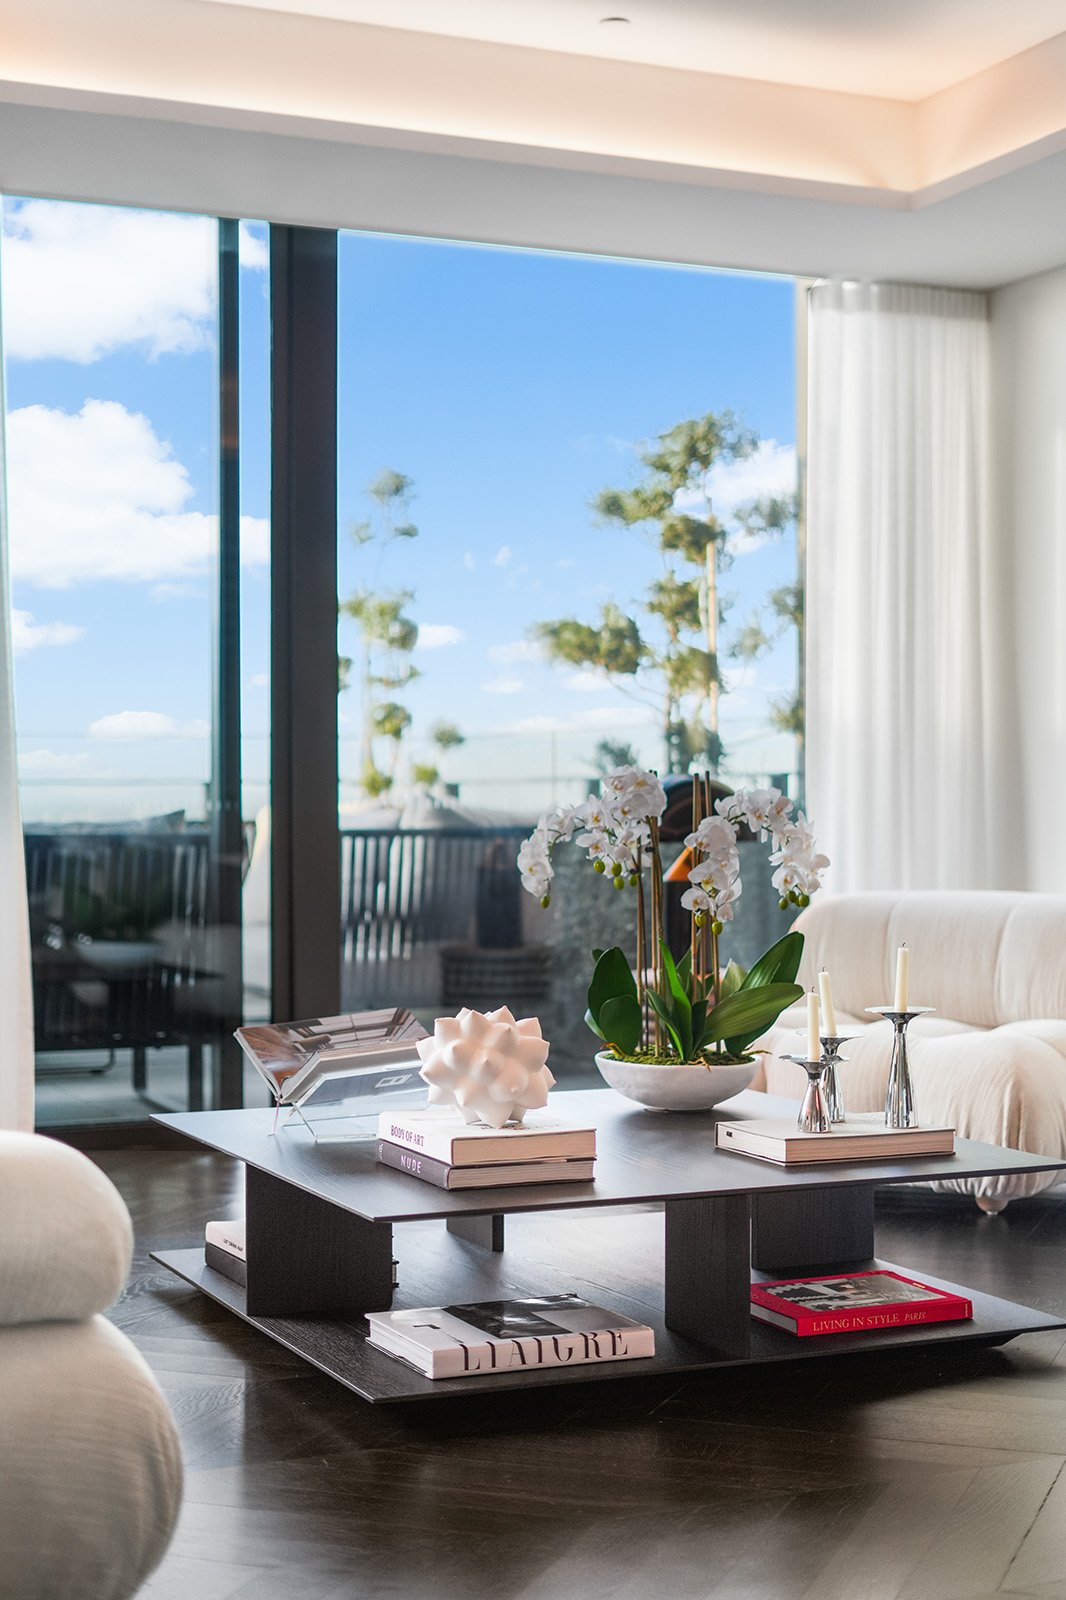
Before filming, make sure the property is:
- Clean and clutter-free
- Well-lit with natural and artificial lighting
- Staged professionally to highlight space and style
Select the Right Equipment
Professional results require suitable gear:
- DSLR or mirrorless camera with 4K capability
- Wide-angle lens for interior shots
- Gimbal or stabilizer to avoid shaky footage
- Drone for aerial shots
- External microphone for narration or ambient sound
Production: Shooting the Video
Once planning is complete, focus on shooting high-quality footage.
Use Proper Lighting
Natural light works best. Shoot during daytime and avoid harsh shadows. Supplement with soft artificial lights if needed.
Keep Shots Smooth
Use a gimbal or stabilizer for moving shots. Smooth pans and transitions make the video more professional.
Focus on Key Features
Highlight the property’s unique aspects, like:
- Modern kitchen appliances
- Spacious outdoor areas
- Views or natural surroundings
- Smart home features
Include Lifestyle and Neighborhood Shots
Show nearby amenities such as schools, parks, cafes, and transport links. This helps buyers imagine their daily life in the area.
Record Clean Audio
If using voiceovers, record in a quiet environment. Consider using royalty-free background music to enhance the viewing experience.
H2: Post-Production: Editing for Impact
Editing turns raw footage into a compelling story that sells.
Keep Videos Concise
Aim for 2–3 minutes for standard property listings. Highlight the property’s best features without overwhelming viewers.
Color Correction and Grading
Adjust colors for natural, inviting visuals. Proper grading enhances the property’s appeal and maintains consistency.
Add Graphics and Text
Include:
- Property address
- Key specifications (bedrooms, bathrooms, square meters)
- Call-to-action (Schedule a viewing or contact the agent)
Optimize for SEO
Add titles, descriptions, and transcripts. Use keywords like “real estate video Sydney” or “luxury apartment video Melbourne” to improve search visibility.
Tips for Mobile-Friendly Videos
With 70% of property searches in Australia on mobile, ensure videos:
- Are compatible with smartphones
- Load quickly with optimized file sizes
- Use clear visuals and readable text
Common Mistakes to Avoid
- Shaky camera footage
- Poor lighting or overexposure
- Ignoring neighborhood context
- Long, unedited videos
- Forgetting SEO optimization
Avoiding these ensures your video looks professional and engages potential buyers.
Tools and Software for Real Estate Videos
Cameras
- Canon EOS R or Sony A7 series for high-resolution videos
- GoPro or DJI Osmo for compact options
Editing Software
- Adobe Premiere Pro
- Final Cut Pro
- DaVinci Resolve for color grading
Drones
- DJI Mavic series for aerial shots
Stabilization
- DJI Ronin or handheld gimbals
Integrating Videos into Your Marketing Strategy
Videos should complement other marketing channels:
- Embed in property listings
- Share on social media platforms
- Include in email newsletters
- Feature on your website landing pages
Anchor suggestion: Check out our guide on [how to create compelling real estate videos that increase property inquiries in Australia].
FAQ – Professional Real Estate Videography
Q1: How long should a real estate video be? A: Standard videos should be 2–3 minutes. Longer lifestyle videos can go up to 5 minutes.
Q2: Is drone footage necessary? A: Not for all properties. It’s most useful for large estates, waterfront homes, or unique locations.
Q3: What is the cost of professional real estate videography in Australia? A: Ranges from AUD 500–1500 per listing depending on complexity and features.
Q4: Can I shoot a professional video with a smartphone? A: Yes, modern smartphones with stabilization and good lighting can produce professional results for small properties.
Q5: Should I include neighborhood shots? A: Absolutely. Showcasing local amenities helps buyers envision living there.
Conclusion
Creating a professional real estate video in Australia requires careful planning, quality equipment, smooth shooting, and strategic editing. High-quality videos increase engagement, build trust, and accelerate sales. By following this guide, real estate companies can produce videos that not only showcase properties effectively but also enhance their brand image and attract premium listings.